How to Use a Hair Straightening Brush: Complete Guide for Silky Results
Hair straightening brushes have revolutionized at-home hair styling. Unlike traditional flat irons that require clamping and precise sectioning, a hair straightening brush combines the convenience of a regular brush with the straightening power of a flat iron. If you've recently purchased a TYMO Ring straightening brush or are considering one, this guide will walk you through everything you need to know for salon-quality results at home.
What Is a Hair Straightening Brush?
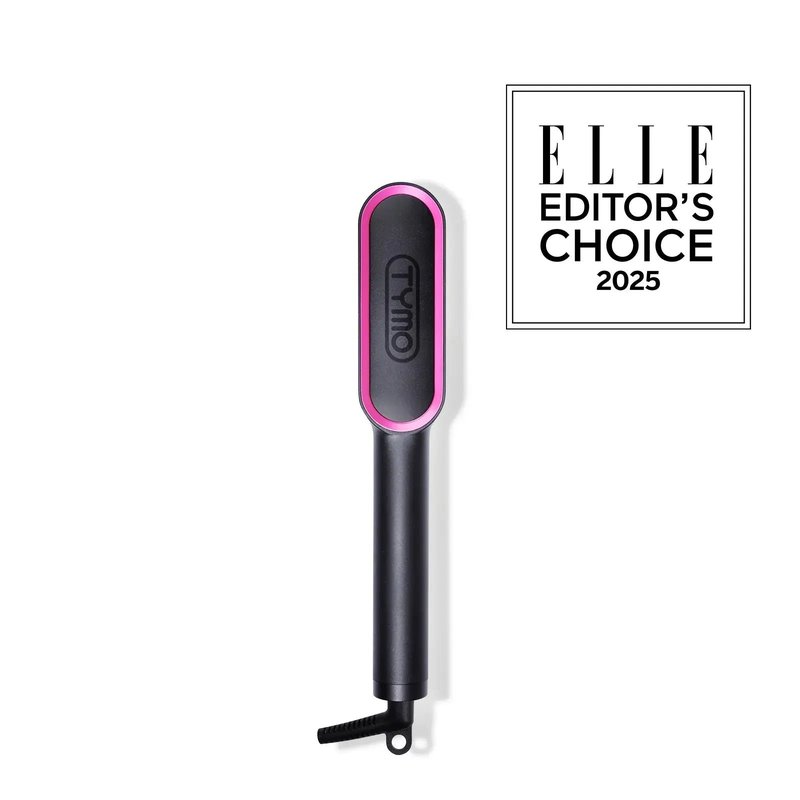
A hair straightening brush is an electric styling tool that heats up from within its bristles, allowing you to straighten your hair simply by brushing it. Unlike flat irons that clamp down on sections of hair, straightening brushes use heated bristles to glide through your hair, smoothing and straightening in one pass. The TYMO Ring is the #1 best-selling hair straightening brush on Amazon, trusted by over 40,000 customers for its innovative 3D curved teeth design and ceramic coating.
Benefits of a Straightening Brush vs. Flat Iron
- Less heat damage: PTC ceramic technology distributes heat evenly, reducing damage by up to 50% compared to traditional flat irons.
- Faster styling: Wide brush head covers more hair per pass — most users finish in 5-10 minutes.
- Natural results: Hair looks smoother and shinier without the "pin-straight" flattened look.
- One-handed operation: No clamping required — just brush as you normally would.
- Anti-scald design: Safety features protect your scalp and hands from burns.
Ready for salon-smooth hair at home?
Shop TYMO Ring Now →Prepping Your Hair Before Straightening
Proper preparation is the key to achieving smooth, long-lasting results and minimizing heat damage.
- Start with clean, dry hair: Wash and thoroughly dry your hair before using a straightening brush. Using it on damp hair can cause damage.
- Apply heat protectant: Spray a heat protectant evenly throughout your hair to create a barrier between your hair and the heat.
- Detangle thoroughly: Use a wide-tooth comb or detangling brush to remove all knots and tangles.
- Section your hair: Divide your hair into manageable sections (top, sides, back) using clips.

Step-by-Step Guide to Using a Hair Straightening Brush
Step 1: Preheat the Brush
Plug in your TYMO straightening brush and select the appropriate temperature for your hair type. The TYMO Ring heats up in just 20-25 seconds, so you won't wait long. A green LED indicator lets you know when it's ready.
Step 2: Start with the Bottom Layers
Release the bottom section of your hair and hold the brush at your roots. Glide the brush slowly downward through your hair — about 1-2 inches per second for optimal straightening.
Step 3: Work Section by Section
Move upward through your hair sections, always working from the nape of your neck toward the crown. For each section, brush through 2-3 times until you achieve your desired smoothness.
Step 4: Finish with a Cool Down
Once you've straightened all sections, let your hair cool for 1-2 minutes to set the style. You can use a light hairspray or serum for extra shine and hold.
Temperature Settings by Hair Type
Choosing the right temperature is crucial for effective styling without damage. The TYMO Ring offers 5 temperature settings from 130°C to 210°C (266°F - 410°F):
- 130°C-150°C (266°F-302°F): Fine, thin, or damaged hair
- 160°C-180°C (320°F-356°F): Medium, normal, or color-treated hair
- 190°C-210°C (374°F-410°F): Thick, coarse, or curly hair
Always start with the lowest temperature and increase if needed. The TYMO Ring Plus model features 9 temperature settings with an LED display for even more precise control.
Pro Tips for Best Results
- Brush from underneath: For more volume, brush sections from underneath rather than on top.
- Use a light touch: Let the brush do the work — don't press too hard or pull your hair taut.
- Focus on the roots: Spend an extra moment at the roots for a smoother, more polished look.
- Finish with cold air: If you have a hairdryer with a cool shot, a quick blast helps set the style.
Common Mistakes to Avoid
- Using too high heat: Always match temperature to your hair type. Higher isn't always better.
- Rushing through sections: Glide slowly enough for the heat to work — about 1-2 seconds per inch of hair.
- Skipping heat protectant: This is non-negotiable for protecting your hair's health.
- Using on dirty hair: Product buildup can burn and create uneven results.
For more hair care tips, check out our guide on building a complete hair care routine and learn about curling your hair without heat damage.